
How to Edit Reels Faster on Your Phone
Learn how to edit Instagram Reels faster on your phone with editing shortcuts, reusable templates, batch editing and a simple workflow for creators.
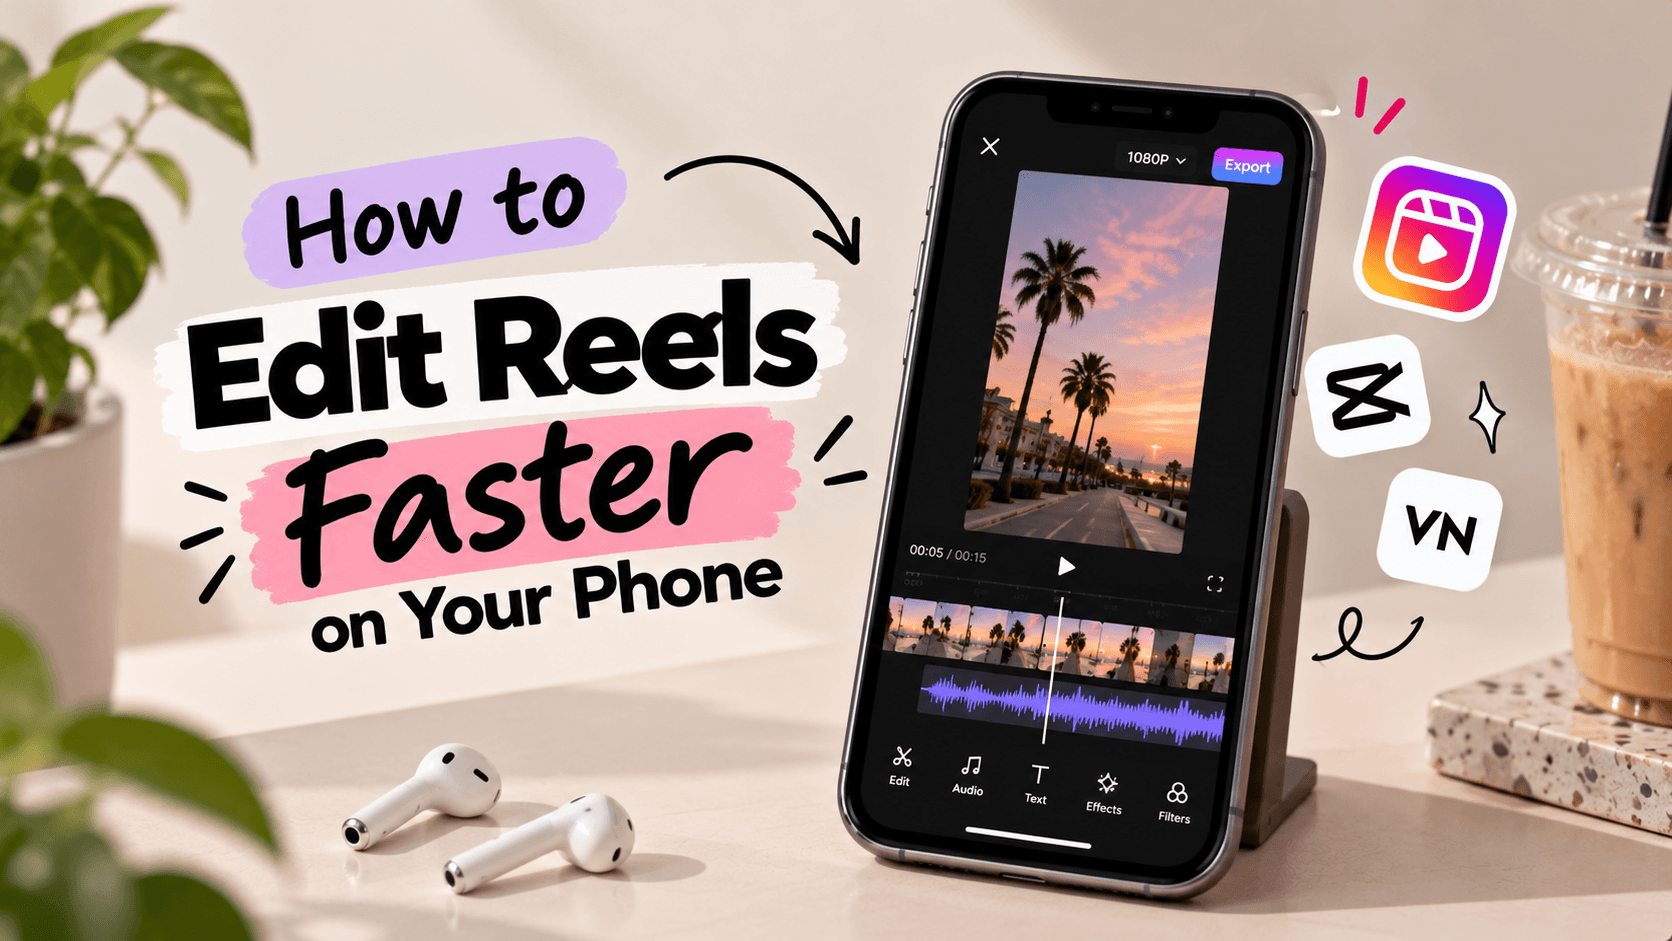
You shoot a Reel in 15 minutes. Then comes the editing.
Cutting clips, syncing audio, adding captions, choosing transitions and fixing tiny mistakes can turn a quick video into a two-hour project.
And if you're posting consistently, that editing time adds up.
The solution isn't to rush through every edit. It's to build a workflow that helps you create polished Reels with fewer unnecessary steps.
Here’s how to edit Reels faster on your phone without making your content feel rushed.
1. Plan Your Reel Before You Start Editing
Opening your editing app without a clear plan can turn a simple Reel into a long editing session.
Before you start, decide:
- What is the main idea of the Reel?
- Which clips do you actually need?
- Where should the music or voiceover begin?
- What text or captions need to appear?
- How should the Reel end?
For example, if you're creating a skincare product Reel, plan three shots: the product packaging, the product in use and the final result. Add a short hook and a closing line.
Now you know what to look for while editing instead of scrolling through dozens of clips.
Quick tip: Keep a simple shot list in your Notes app. It can save you from repeatedly reopening footage to figure out what comes next.
2. Choose the Right App to Edit Reels on Your Phone
Switching between multiple apps for trimming, text, audio and effects can slow you down.
Choose one main editing app that covers most of your needs. Depending on your workflow, you could use Instagram's editor, CapCut, VN or InShot.
Look for features such as:
- Easy clip trimming and splitting
- Text and caption tools
- Audio and voiceover controls
- Speed adjustments and transitions
- Reusable projects or templates
- Vertical video export
For simple talking-head Reels, you may only need trimming, captions and audio adjustments. For transitions, product montages or more detailed edits, a dedicated video editor may be more useful.
The goal: Find an app that fits your content style and learn its tools instead of constantly switching between editors.
Note: Features and availability can vary by app version, device and region.
3. Trim Your Clips Before Adding Effects
One of the easiest ways to edit Reels faster is to remove unnecessary footage first.
Start by cutting:
- Long pauses before you start speaking
- Repeated takes and mistakes
- Clips that don't add anything to the story
- Unnecessary gaps between scenes
Arrange the remaining clips in the right order and watch the Reel once before adding effects.
For example, if you recorded a 20-second product demonstration but only 12 seconds are useful, trim the extra footage first. You can then focus on making those 12 seconds engaging instead of polishing clips you won't use.
A well-trimmed Reel often needs fewer transitions and effects to feel engaging.
4. Use Reel Editing Templates to Save Time
If you regularly create similar content, you don't need to build every Reel from scratch.
Create a reusable editing structure for formats you post often, such as product reviews, mini-vlogs, tutorials or outfit videos.
Example: A reusable 30-second product-review template
Suppose you regularly review fashion, beauty or lifestyle products. You can use this basic structure for every review.
- 0-3 seconds - Hook: Show the product and introduce the main question, such as “Is this actually worth buying?”
- 3-8 seconds - Product introduction: Show the product, packaging or key details.
- 8-18 seconds - Demonstration: Include close-ups, try-on shots or the product in use.
- 18-25 seconds - Honest review: Share the best feature, drawback or personal experience.
- 25-30 seconds - Conclusion: Give your verdict and invite viewers to comment or check the product details.
Save the project as a reusable template if your editing app supports it. You can reuse the timing, text placement and general structure while replacing the footage, hook and review.
This works especially well for recurring product reviews because you spend less time deciding the layout and more time creating useful content.
Important: Reuse the structure, not the entire Reel. Change your visuals, pacing and storytelling so every video still feels fresh.
5. Batch-Edit Your Reels Instead of Editing One at a Time
Editing one Reel from beginning to end before starting the next can mean repeating the same tasks five times.
Batch editing helps you group similar tasks together.
Example: How to batch-edit five Reels in one session
Imagine you have five Reels planned for the week: two product reviews, one tutorial and two mini-vlogs.
Try this workflow:
Step 1: Organise your footage
Create five folders or clearly named albums so you can find each Reel's clips quickly.
Step 2: Trim all five Reels
Remove mistakes, pauses and unnecessary footage from every video before moving on.
Step 3: Arrange the clips
Put each Reel's clips in the right order. Check that the story makes sense before adding effects.
Step 4: Add text and captions
Work through all five Reels and add the required hooks, labels and captions. Reuse your preferred text styles where appropriate.
Step 5: Add audio
Adjust music, voiceovers and sound effects. Check that dialogue remains easy to hear.
Step 6: Review and export
Watch each Reel, check the captions and audio, fix any issues, and export the final versions.
You can also split this into two shorter sessions if editing all five at once feels tiring.
The advantage is simple: once you've learned a task or set up a style, you can apply that knowledge across multiple videos instead of starting over each time.
6. Learn the Editing Shortcuts You Use Most
Small actions can consume a surprising amount of editing time when repeated throughout a project.
Learn the controls in your editing app that help you:
- Split clips at the playhead
- Trim clips from either end
- Duplicate clips or text elements
- Copy adjustments where supported
- Undo mistakes quickly
- Zoom in and out of the timeline
For example, if you use the same text style across several scenes, duplicating an existing text element may be quicker than recreating its font, size and placement each time.
You don't need to memorise every feature. Start with the three or four actions you repeat most often.
7. Make Captions and Text Easier to Add
Captions help viewers follow your Reel, especially when they're watching without sound. But styling every text element from scratch can slow down editing.
Make the process simpler:
- Choose one or two readable fonts.
- Keep text placement consistent.
- Use short, easy-to-read lines.
- Try automatic captions if your app supports them.
- Review auto-generated captions for spelling and timing errors.
- Keep important text clear of Instagram's interface elements.
For example, if you usually create talking-head videos, decide on your caption style once and reuse it. You can still highlight important words or change colours when the content calls for it.
Consistency saves time and helps your videos look more polished.
8. Stop Overediting Every Clip
More effects don't automatically make a Reel better.
Too many transitions, animations, sound effects and filters can increase editing time without improving the content.
Before adding an effect, ask yourself: Does this make the video clearer, more engaging or more enjoyable to watch?
For a quick tutorial, clean cuts and readable captions may be enough. For a travel montage, transitions and music may help establish the mood.
Use effects when they serve the story, not simply because the editing app offers them.
9. Create a Simple Pre-Export Checklist
Exporting a Reel and then noticing a typo, awkward cut or audio problem means going back and repeating work.
Before exporting, check:
- Does the opening grab attention?
- Are unnecessary pauses removed?
- Are the captions readable and correctly timed?
- Is the music balanced with the voice?
- Are the clips in the right order?
- Is the video in the correct vertical format?
- Are there any blank frames or awkward cuts?
Watch the final edit once from beginning to end. Fix the issues you find, then export.
A quick final review can save you from uploading a version you need to correct later.
10. Create a Faster Instagram Reels Editing Workflow
The best workflow is one you can repeat without thinking through every step from scratch.
Try this sequence:
Plan → Organise → Trim → Arrange → Add text → Edit audio → Review → Export
Each step has a clear purpose. You plan the content first, organise your footage, make the cuts, add finishing touches and review everything before exporting.
You can adjust the sequence to suit your content. A voiceover Reel may need audio work earlier, while a product montage may benefit from arranging clips around the music first.
Once you find a workflow that works, repeat it and improve it as you go.
Common Editing Habits That Waste Time
A few small habits can turn a quick edit into a long session:
- Changing the style halfway through: Decide on the general look before editing.
- Keeping unnecessary footage: Trim clips before adding effects.
- Using too many transitions: Keep effects that improve the story.
- Searching for clips repeatedly: Organise footage before opening the editor.
- Exporting without reviewing: Check the finished Reel before publishing.
Fixing these habits can make your editing process smoother without lowering the quality of your content.
Final Thoughts
Editing Reels faster isn't about cutting corners. It's about removing the steps that waste your time.
Plan before editing, organise your footage, trim unnecessary clips, reuse helpful templates and batch similar tasks when possible.
Start with one change in your next editing session. Once it becomes a habit, introduce another.
Your goal isn't to spend less time making good content. It's to spend less time doing the same editing work repeatedly.
FAQs
1. How can I edit Instagram Reels faster on my phone?
Plan your Reel before filming, remove unnecessary footage, reuse templates, learn common editing shortcuts and batch similar tasks. A repeatable workflow can reduce the time spent on repetitive edits.
2. Which app is best for editing Reels on a phone?
Instagram's editor, CapCut, VN and InShot are options to explore. The right choice depends on the features you need, your device and the app's current availability in your region.
3. How can I edit multiple Reels faster?
Organise your footage, trim all your clips in one session, add captions across projects, adjust audio and review each Reel before exporting. Reusable templates can also help with recurring formats.
4. Do Reel editing templates make content look repetitive?
They can if you reuse the same visuals and pacing every time. Use templates for structure and text styling, but change your footage, hooks, examples and storytelling.
5. How long should it take to edit a Reel?
It depends on the video's length, captions, effects, audio and complexity. A simple talking-head Reel may take much less time than a detailed montage. Focus on building an efficient workflow rather than meeting an arbitrary editing time.
Ready to start your creator journey?
Download Hey! Creators. Brand deals, affiliate earnings, AI tools, and everything you need in one app.